WE HAVE GREEN WALLS!!
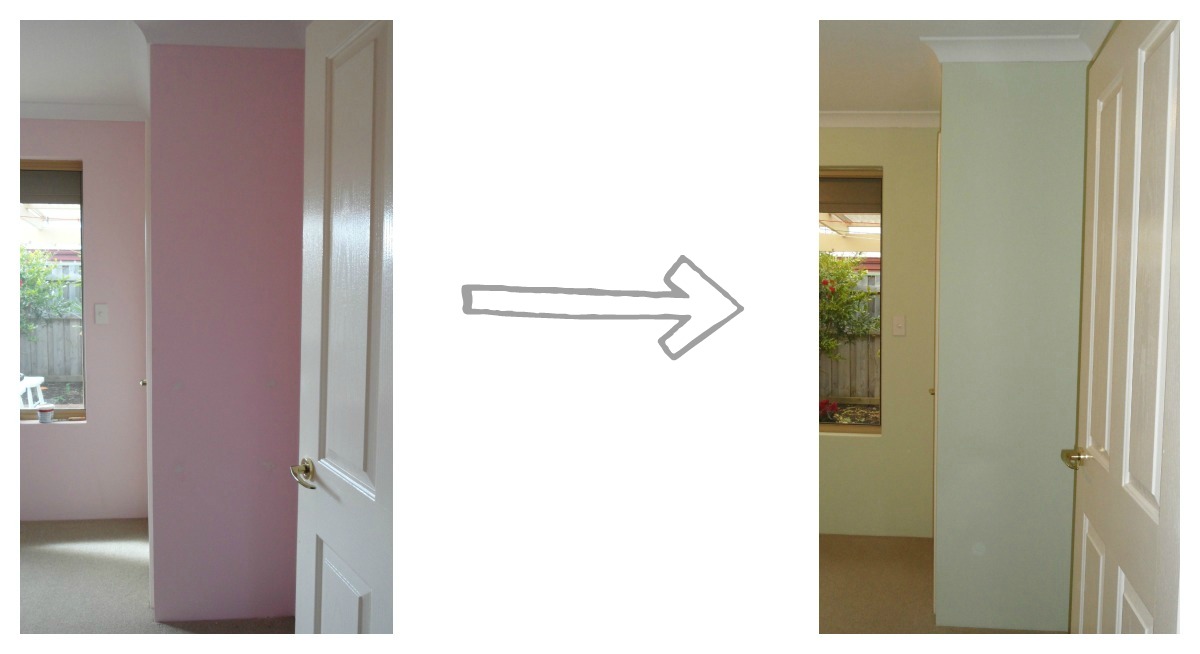
The room is painted!! In the end I went for, Security for the darker and Security Half for the lighter green, by Dulux. I went for one shade lighter with the darker green than was first planned {in the colour samples in DIY NURSERY Part 1, which you can see HERE!}
Im totally in love with it and can't wait to add more colour once I know the baby's sex.
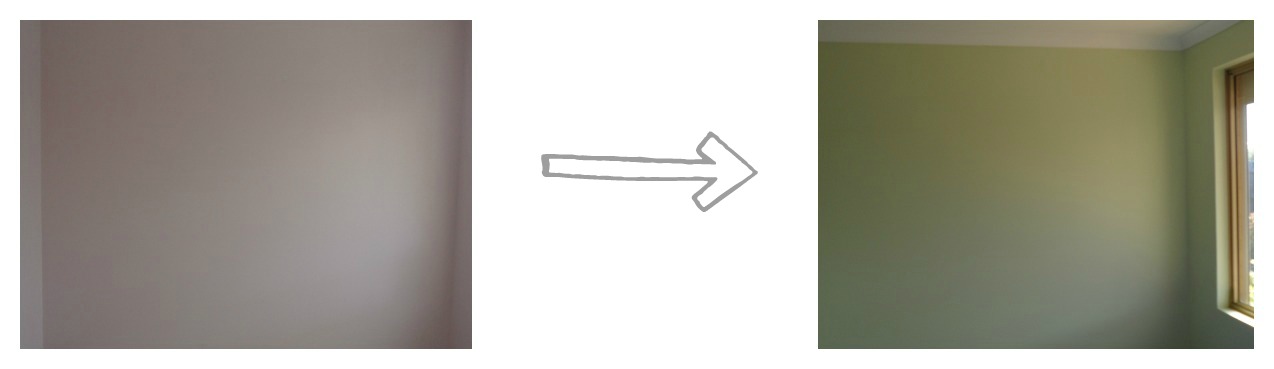
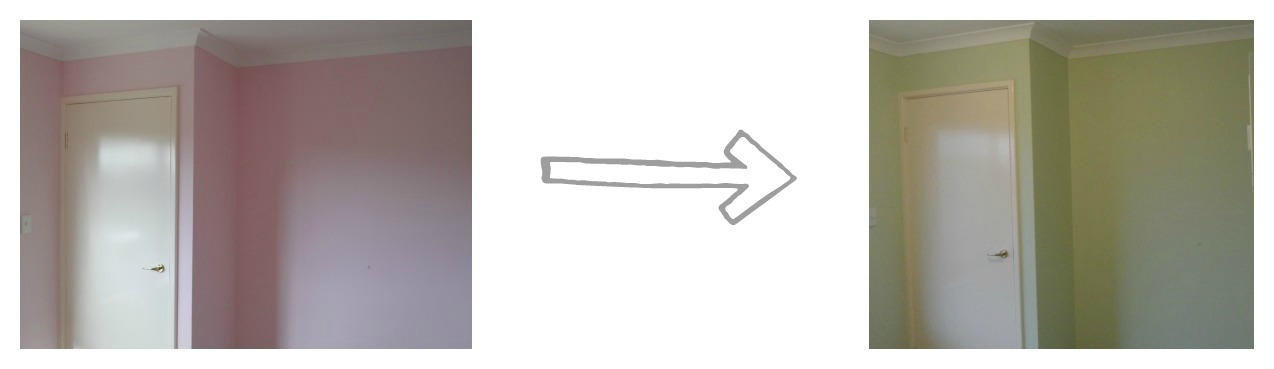
Here are the before and after shots!

Once the whole room was painted and dry, We striped one of the walls,
HOW TO STRIPE A WALL.
{One Spotty Dog Style}
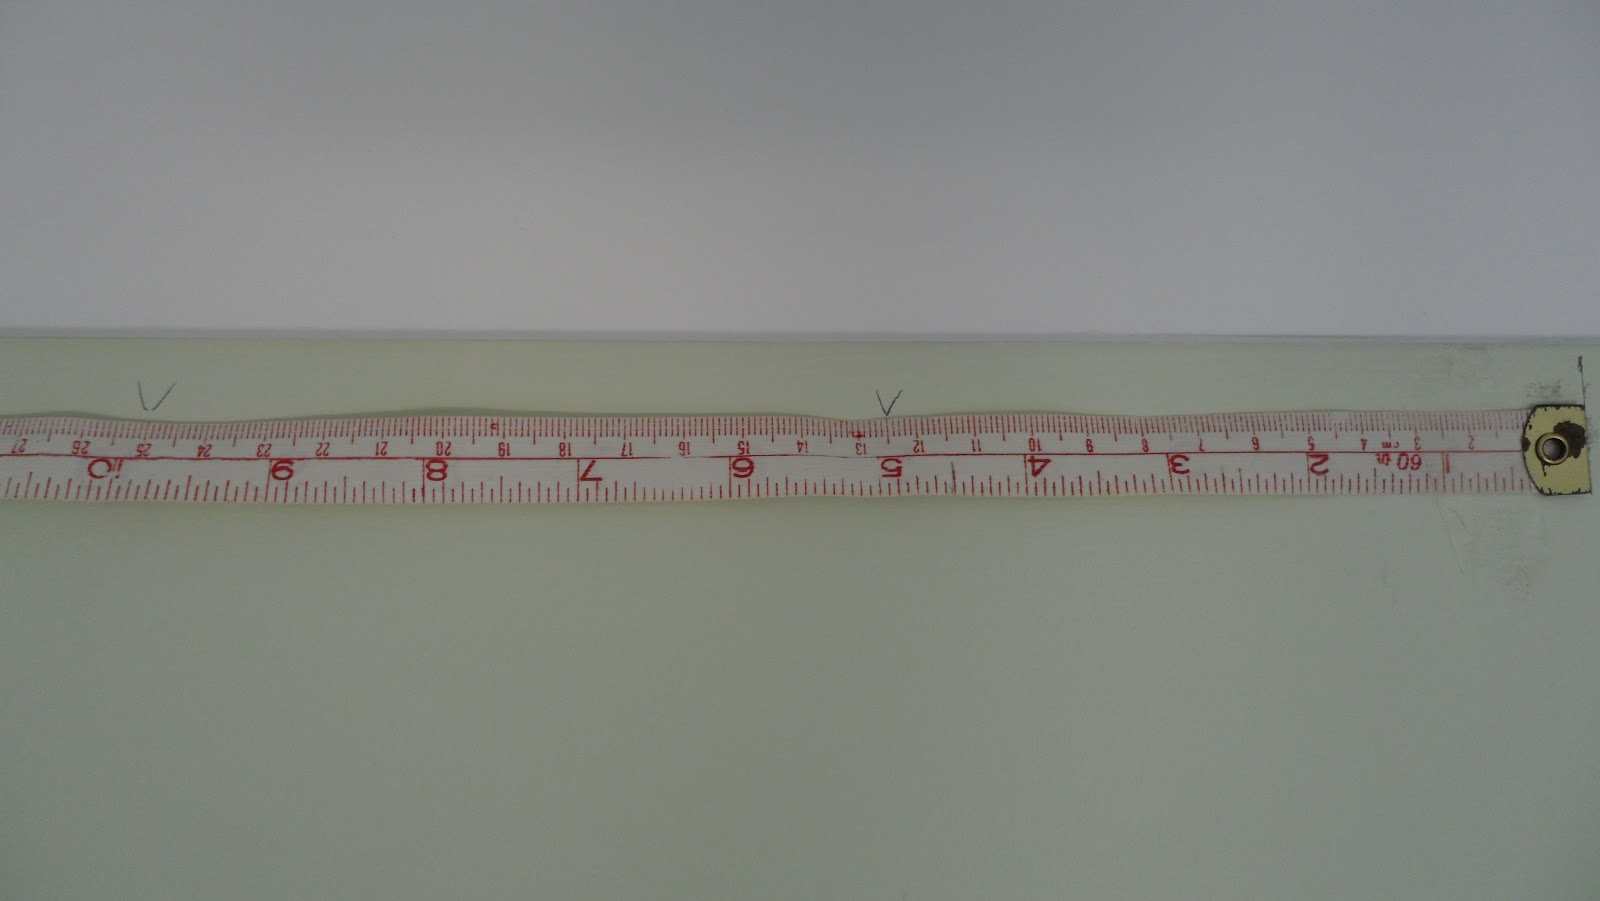
First we measured {Yes with my sewing tape measure} the size of the stripes. I did this to the length of the roller so that I could do one clean roll, which was 12.5cm.
We then added a low tack tape, pushing down the edge that was going to come into contact with the paint only to ensure that we would have the least amount of paint peeling off with the tape. {The taping was definitely the hardest part!}

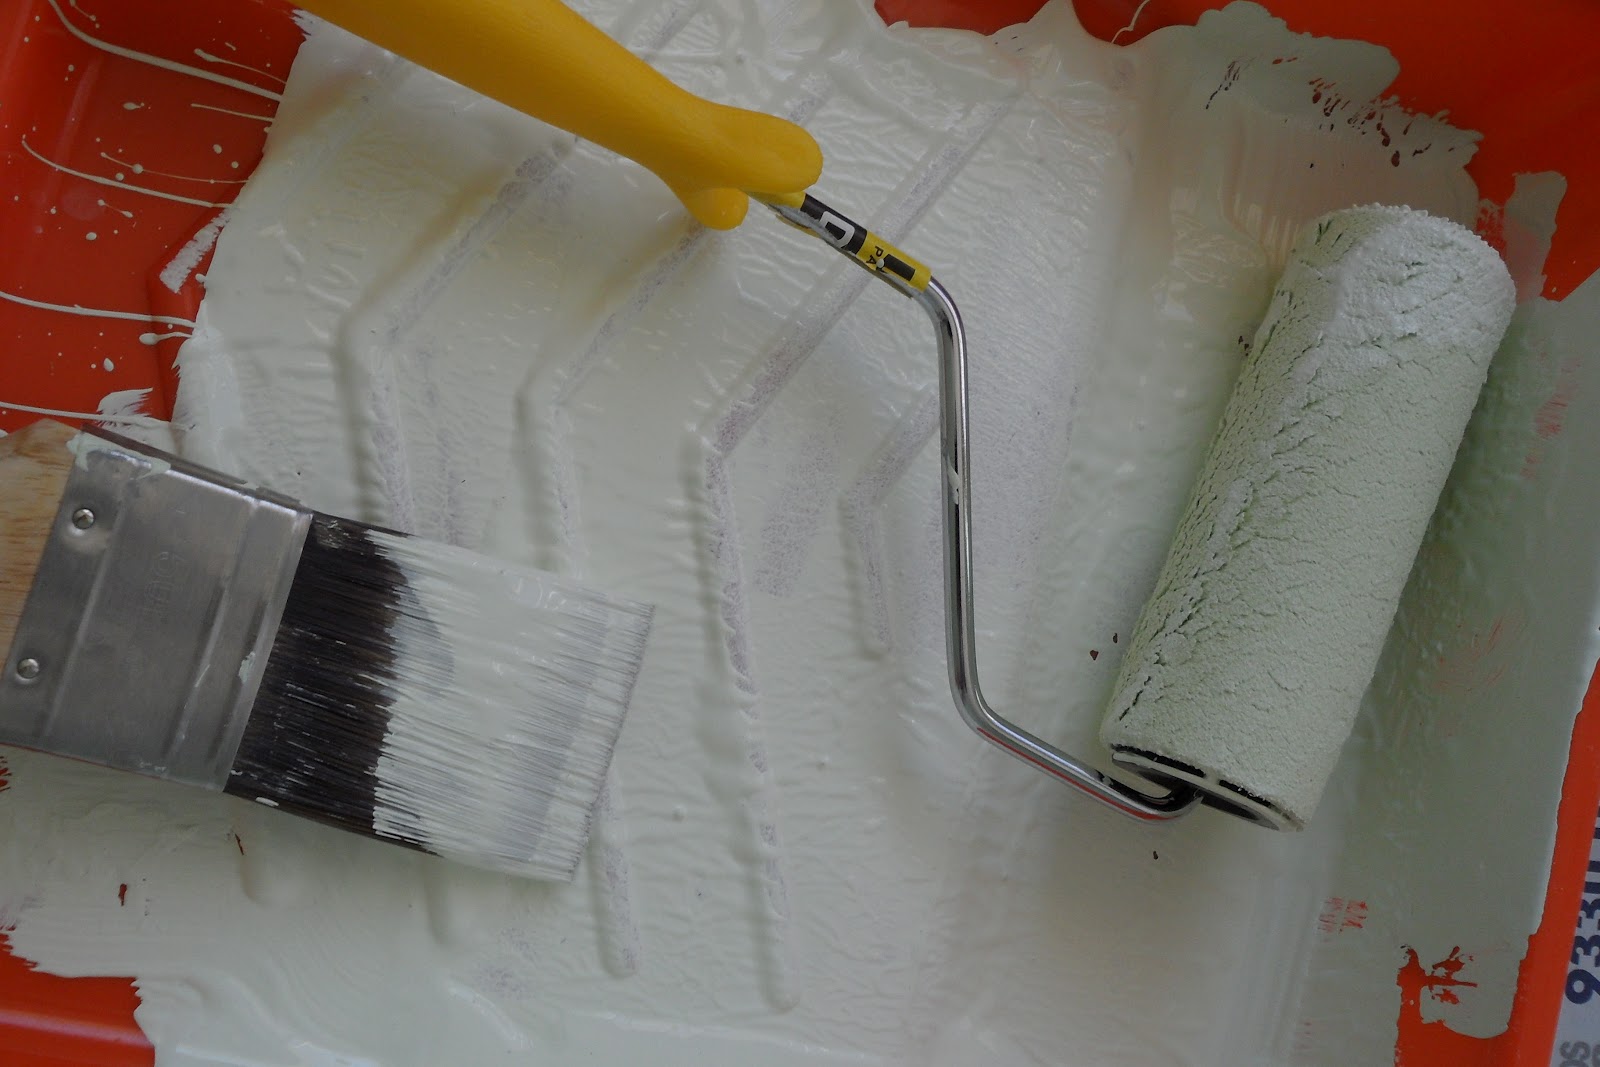
Then I rolled the paint into the taped areas.
{Tip: Pull the tape off while your paint is still wet. I did have a couple of touch ups to do, but nothing major.}

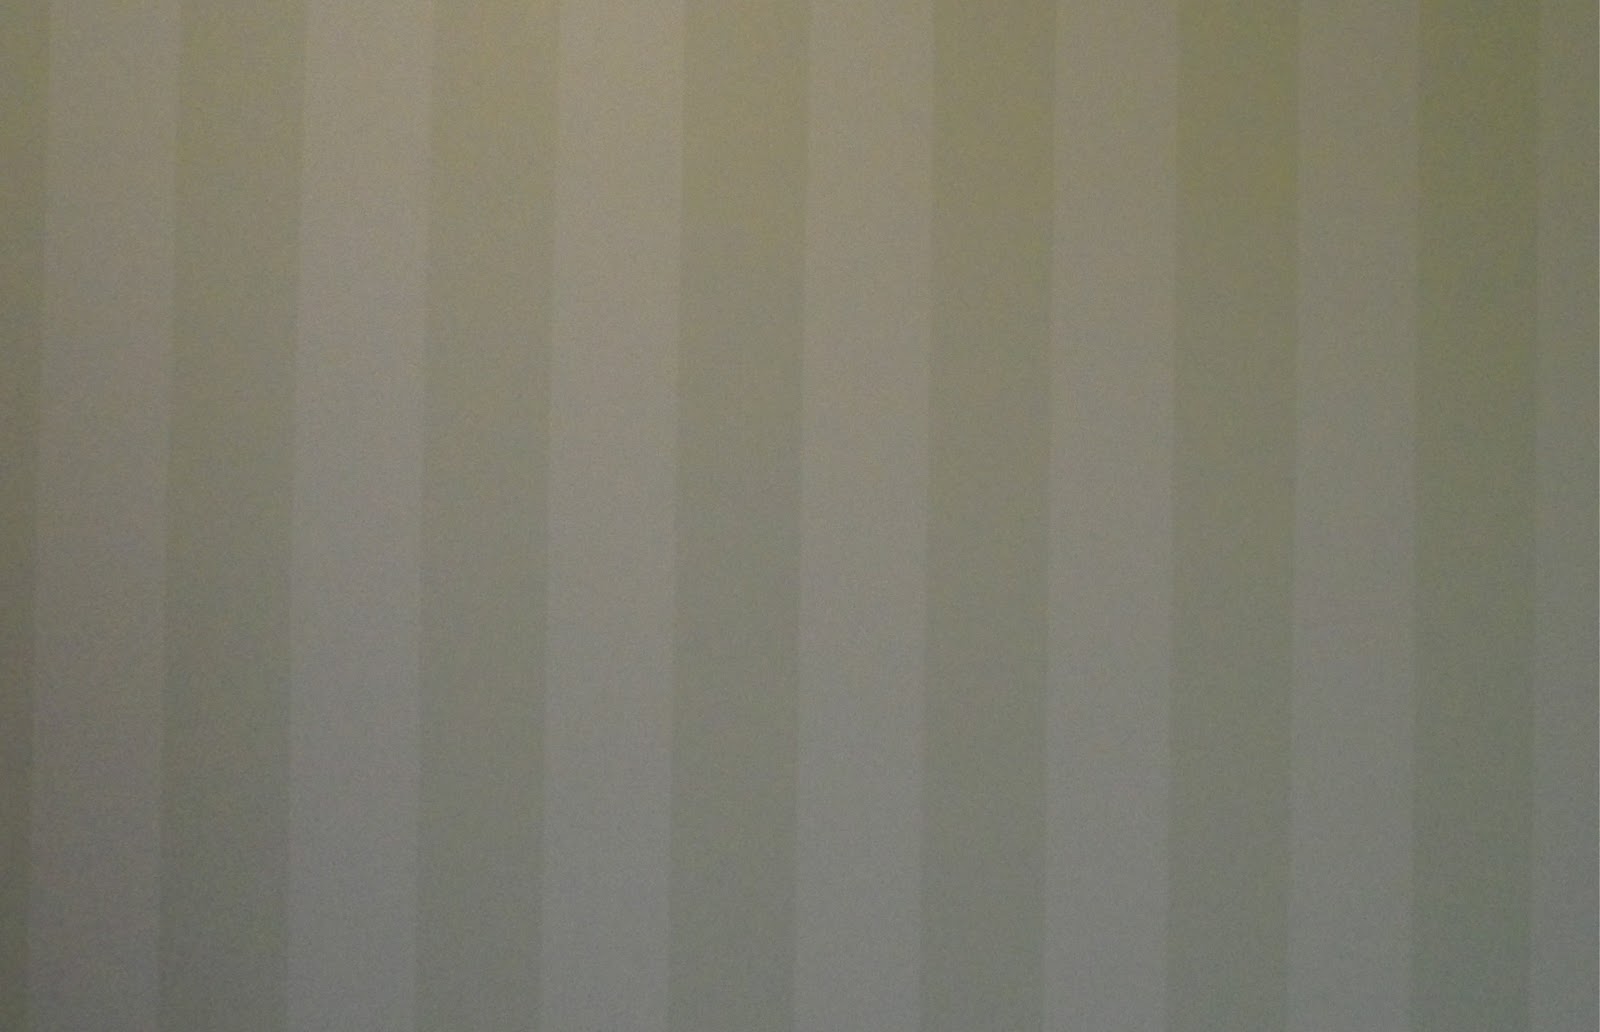
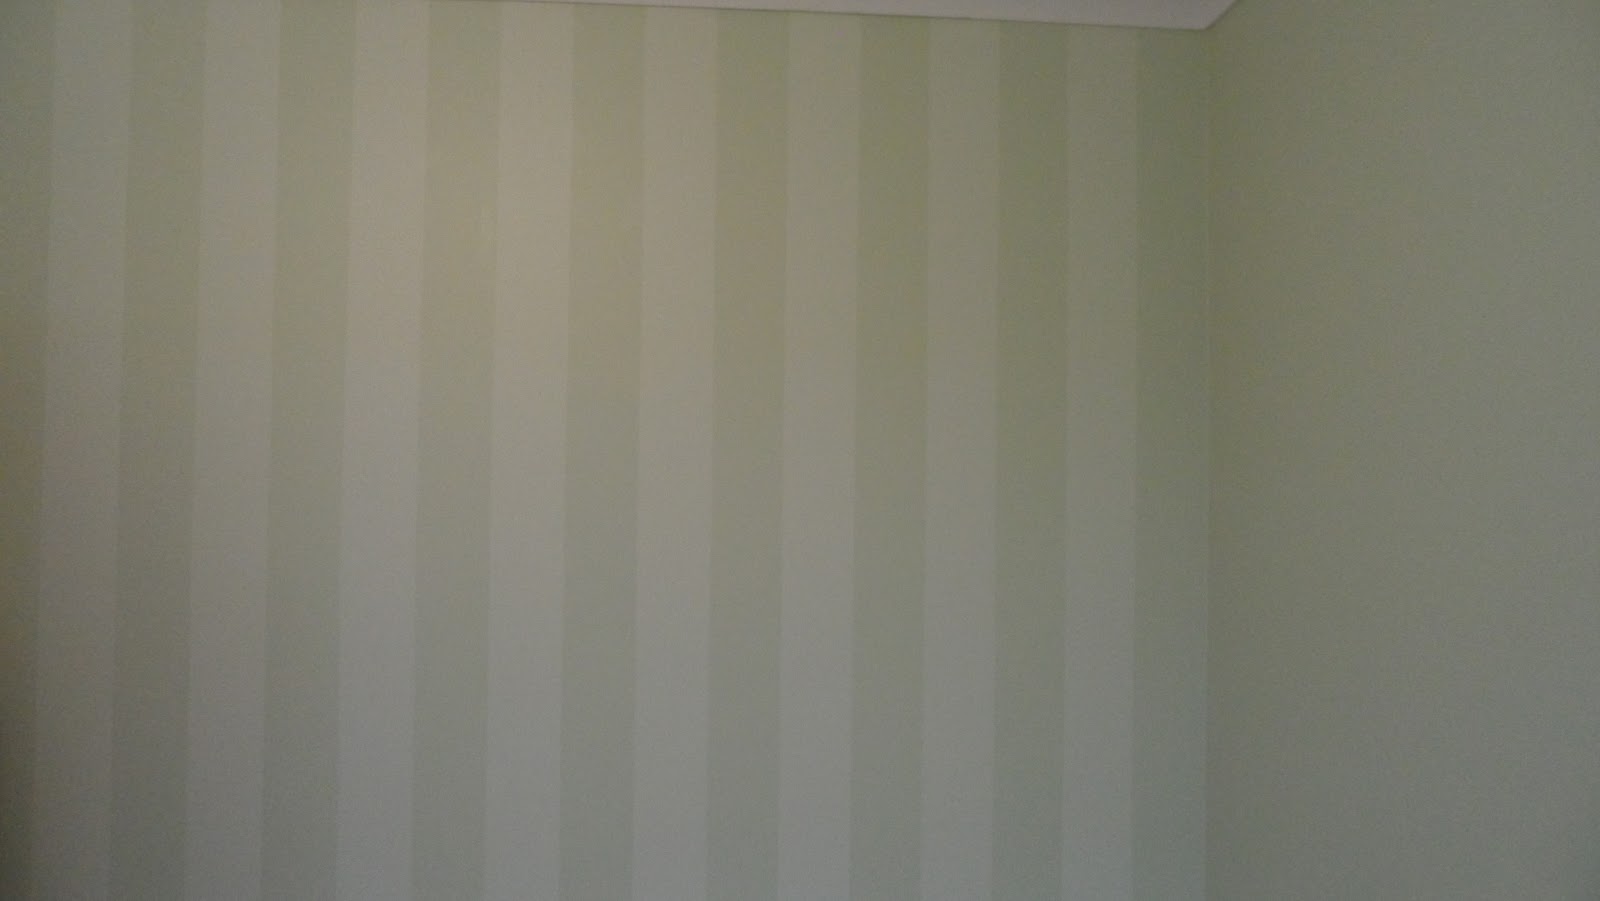
Here is the finished striped wall:

Tash :0)
PS: If you missed Part 1, you can see it HERE
No comments:
Post a Comment